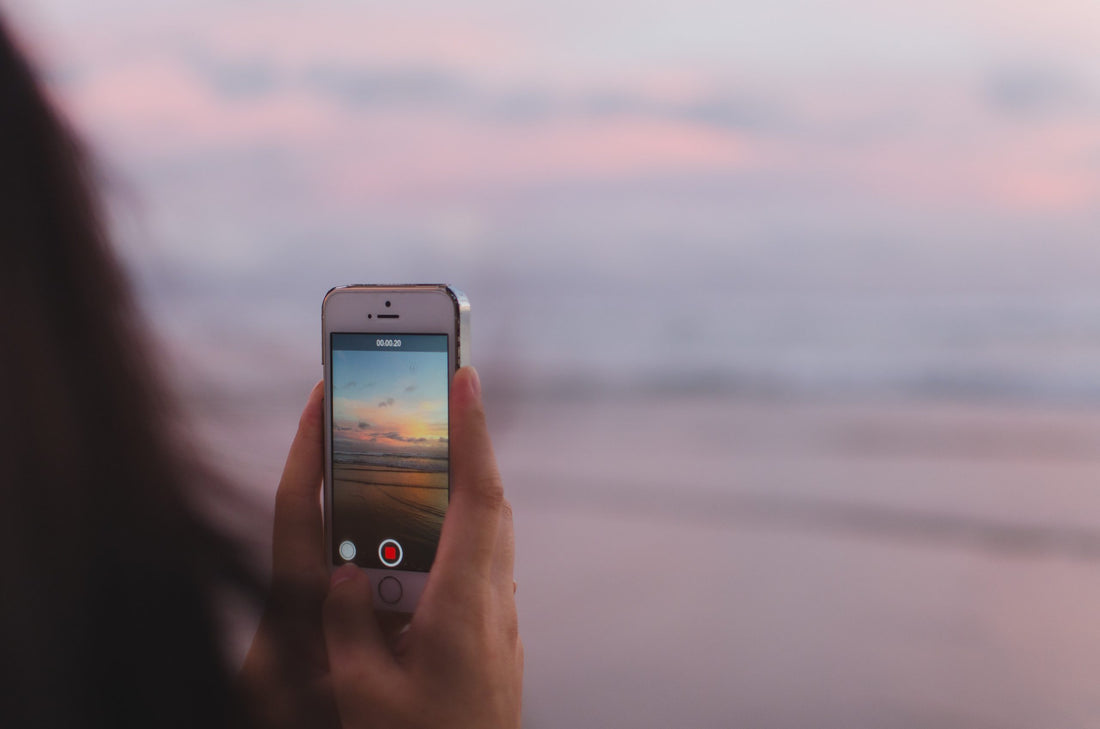
Of course, bringing cool photos from a trip is great, but bringing a stunning video means taking live emotions that you can share with your friends, family, or even the entire Internet.
The great thing about shooting a video is that now you don’t need to take a clunky professional camera with you. Increasingly, travelers prefer to take only their smartphones on vacation. And with all the shooting conditions, the iPhone camera does an excellent job. Now you can shoot gorgeous portraits, blurring the background, easily make clips in difficult light, during rain and even underwater!
So, how to shoot a super travel movie on an iPhone? All the answers are below.

Reasons to choose an iPhone for shooting
- When you think about what to take with you on a trip, as a rule, you get an impressive list of things. And often travelers carry all these things on themselves – in a travel backpack, climbing mountains, hitchhiking, or exploring caves. The iPhone reduces the load, suggesting that you give up the heavy, gigantic gear like professional DSLRs.
- You don’t need permission to film. This is important in top locations, where the cost of shooting with professional equipment can reach $200 in an hour.
- iPhones are equipped with optical image stabilization. It is optical stabilization that is responsible for ensuring that the picture during shooting is as smooth as possible.
- In 2022, the main thing is not technology. The main thing is the story and creativity of the idea. It is more essential for the viewer to be with you at the moment than to ferret out the presence of pixels or the absence of 4K video. Although it is worth mentioning that the newest iPhone models support HD, 4K, HD (PAL) и 4K (PAL) video recording.
All in all, the new iPhones capture sharper video with more life-like colors. And this is exactly what you need when shooting a solo, friends, or family travel video.
Now let’s get down to business: here are tips to make iPhone shooting even better.

Powerful tips to make awesome travel movies with iPhone
#1. Use a selfie stick
A monopod while traveling the world is needed not only for selfies – it is also an excellent tool that allows you to increase visibility, reach inaccessible heights or depths and achieve non-banal angles. It is indispensable if you need to raise the camera above the crowd, shoot a view from a moving train, fit something very high in the frame, or, for example, take a video of a tropical beach through a holey snag washed ashore.
#2. Try to use zoom less
The best zoom is your legs. If you still want to take a closer shot, don’t zoom in with the slider, but switch to portrait mode – in this case, the video quality will be much higher.
If you still want the subject too far away and you definitely want to capture it, digital zoom in good light will not degrade the image quality of your iPhone video too much.
#3. Hold your iPhone properly
It’s acceptable to shoot video in landscape mode. It’s also okay to film vertical video. Think about where you want to upload or share your videos. When submitting a YouTube video, horizontal orientation is great. But for posting on social media like Instagram, vertical videos seem better. However, if you’re planning to edit a lot of clips together, be sure to hold your smartphone in the same position for each video. This would substantially simplify their editing and stop you from having to deal with “black bars.”
A short remark: iPhone records videos in MOV format, so if you would like to upload content to social media, convert it in advance. Upload your footage to your computer, learn how to convert MOV to MP4 on Mac, complete the process and upload your creation to the internet – let everyone see your vacation.
#4. Control auto AE and AF
If your video appears too bright, you may reduce the exposure to prevent people’s faces from becoming luminous spots. However, keep in mind that auto exposure and focus are related.
Touch the display you wish to concentrate on to fine-tune the exposure. We hope this is relevant to your subject. There will be a yellow focus/exposure square emerging. Move your fingers up and down the brightness symbol until the object is well lighted.
#5. Integrate your selfie video
The front camera on the iPhone is amazing. By the way, selfie videos can also be recorded in 4K format. This is ideal for vlog-style videos.
#6. Enhance your sound with an external microphone
Bad sound can ruin a great video. The iPhone’s built-in microphones are suitable for recording. But if you want your subject to be close to the microphone, but far enough away to have great focus, buy an external microphone.
#7. Play with angles
Experiment with different camera angles to spice up your breathtaking destinations footage. Try squatting down and shooting upwards, climbing a large building to get sweeping cityscapes, or drawing attention to the area by using a wall or railing as a leading line.
Turn on your camera and record anything that catches your eye. The more intriguing the footage, the better your final film will be.
#8. Keep clips short
It’s vital to keep your video short – from 4 to 10 seconds per piece. While 20 seconds of staring at one scene may not seem like much when you’re capturing it, it might feel like a lifetime when you watch it back, especially when seen alongside numerous long segments in a video. Shorter clips are also much easier to edit, since you won’t have to go through a lengthy video file to discover the few seconds in the middle that are genuinely intriguing.
#9. Edit the footage
Last but not least, you need to merge all your clips into one video. For this, the iPad is the best device for editing, as its large screen makes moving clips, applying filters, etc. much easier than on a smaller phone.
However, the fastest way to assemble clips into one movie is to use video editing apps for iPhone. If you want to avoid painstaking editing and just share your holiday movie on Instagram, check out these apps.
If you’d like to get more involved, you should look into iMovie. You can import your video clips one by one, easily cut unwanted parts, choose different transitions between clips, and add background soundtracks from your own music library or from built-in themes.
When editing, it is wise to consider the chronology of events throughout the trip. Make it like a travel diary. You can also play with filters to add a moody or cheerful vibe, and iMovie also lets you record voice-overs for those scenes where you really want to explain what’s going on.